Lintels are an integral part of any building, sitting across doors and windows to provide structural support. One of the big names in the lintel products industry is Catnic and they have an impressive range of top quality products. But how do you install a Catnic Lintel into your building project?
Get the right product
The first step is to ensure you get the right product. To help with this, there’s the the Lintel Calculator which is a simple way to check the lintel, the location it is suitable for and other technical information about this. Then you can easily order the right product.
Placing the lintel
Once you have the lintel, you are ready to start placing it. But there are some tips to make sure you get this just right and ensure it works perfectly. For example:
- Install the lintel with a nominal 150mm bearing at each end
- Ensure the total length is 300mm more than the clear span
- Make sure the lintel is fully bedded on bricklaying mortar
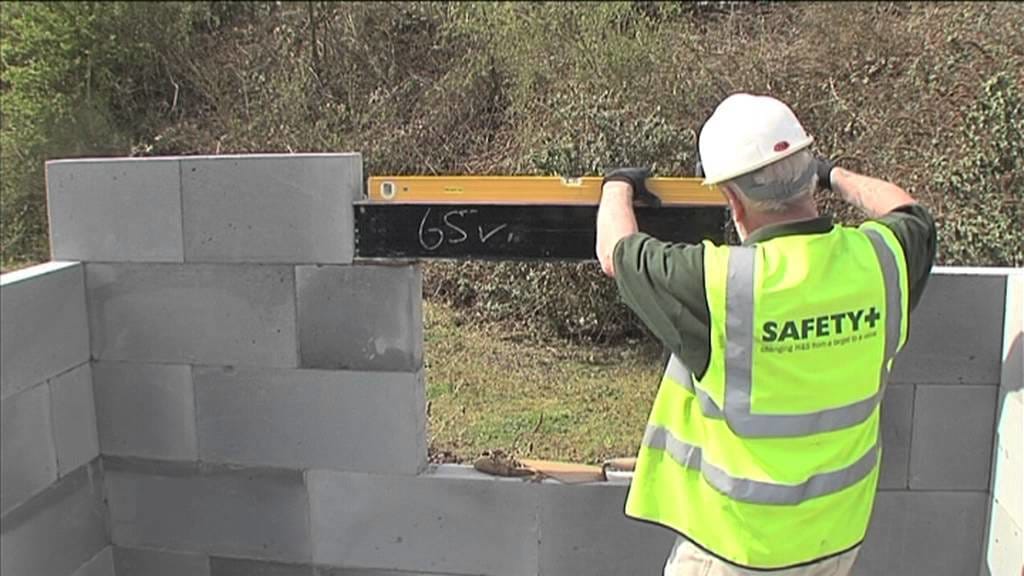
- Check the lintel is level across both the width and the length
- Be certain the external lintel flange projects beyond the window or door frame and use a flexible sealing compound between the underside and the frame
Check the bricks
Only full bricks or blocks must be located at the bearing end of the lintel. Never place one onto part bricks as they simply may not be strong enough. If there are extreme structural loads involved with the project, you may need to increase the bearing area, but you can always contact the lintel seller to check this.
Check the loading once the lintel is in place
Knowing the loading is right is one thing – check it once the lintel is in place is another. This is a crucial step in the process to make sure that the lintels are used in line with the specifications.
Check for any areas of concentrated load or where a substantial part of the load is focused. The aim is that each concentrated load is supported by at least 200mm worth of lintel. Avoid placing loads directly onto the flanges of the lintels.
Check the cavity wall area
If the lintel continues into a cavity wall, make sure that no more than 50% of the safe workload is carried by the outer lead. Finally, if concrete floor loads are being added, make sure those total loads have been checked by either the lintel supplier or a structural engineer for safety.
Damp proofing the lintel
The final step in installing the lintel is to add protecting. Under the National House Building Council (NHBC) requirements, a damp proof course needs to be added over each lintel, so it is protected.
Many of the Catnic lintels have a corrosion protection coating and a design that acts as a DPC. This allows water in the cavity to transfer across a sloping face and depart through weep holes. If you have a lintel that doesn’t have this feature, you will need to use a separate membrane to replicate this system.


