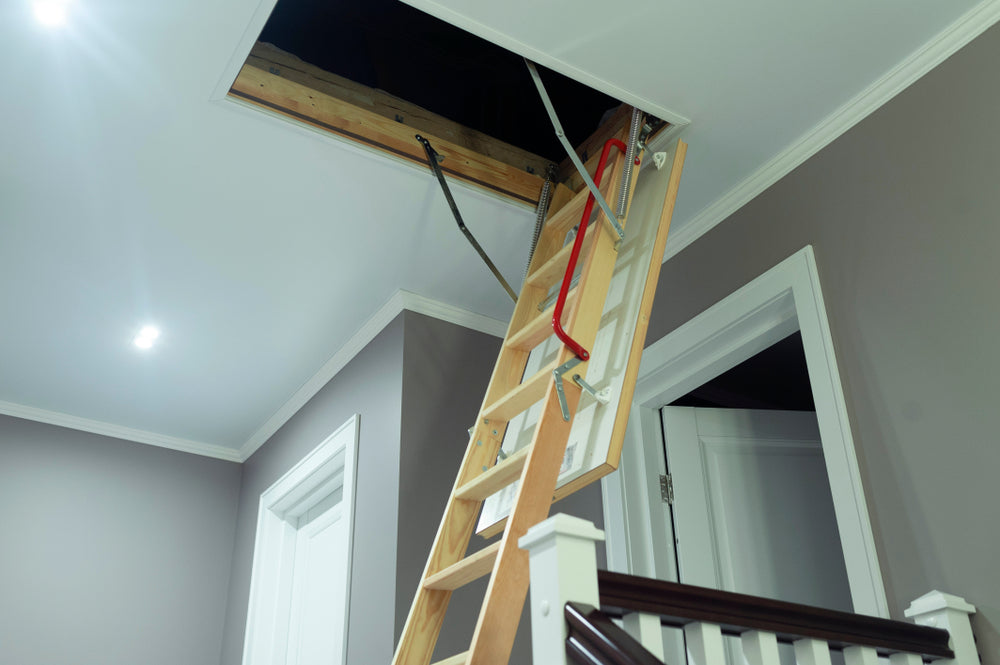
There’s nothing more irritating than needing something from the loft but having to go to the shed to get ladders first. Especially on a snowy day in January when it is so cold! One of the easiest solutions is to have a loft ladder and hatch system in place so you can simply open the hatch and the ladder will slide down.
But how do you fit a loft ladder with hatch? The answer is relatively straightforward with a little preparation work. Let’s take a look.
Getting the right ladder
Before we look at the process of installing a loft ladder, it is important to understand the options. Most people think they can just grab wooden loft ladders of some type and screw them to the hatch. The reality is much different.
For example with Fakro loft ladders, there are both wooden and metal varieties. Some are fire resistant and there are even stationary staircase styles. Another version is the Keylite loft ladder which comes in either 3 or 4 segments.
With all of these ladders, you need to know the ceiling opening dimension, the frame external dimension and the length the ladder needs to be to reach the floor. There can be as many as 10-15 different loft and hatch combinations available so you need to know the right one before you make a purchase!
Armed with the right information, you can purchase the ladder and hatch set that fits your ceiling space and move onto the actual fitting.
Step 1 - Preparing the space
Each ladder set will have its own instructions and you should always follow these but we can still walk through the general process. The process starts by preparing the space and grabbing the tools you’ll need. A few things you’ll want with you include:
Tape measure
Hammer
Screwdriver(s)
Square
Pencils
Panel saw
Tenon saw
Craft knife
Cordless drill
Screws and fixings provided
Most of the time, you’ll be adding the ladders to an existing loft opening. If you are creating a new one first, then you will need to make sure you pick a spot with plenty of headroom above it. Then you can go about cutting the new loft hatch.
Step 2 - Altering the existing opening (if needed)
This is an optional step depending on if you need to alter the existing opening or if it was already a suitable size for the ladder you want to add.
The idea is that the ladder needs to run along the joists and not across so you make need to alter the size of the opening to allow for this. Mark the opening of the ceiling and cut any joists then insert and nail trimmers as needed. Make sure it is completely square and then you are ready for the ladder.
Step 3 - Fitting the ladder support battens
The first step to installing the ladder is to fit the support battens to the box frame. Measure the overall depth of the ceiling joists, plaster and any boarding installed. Mark the dimension on all four sides of the box frame.
Nail or screw a length of 50x25 sawn batten along each side so that the bottom edge is level with the marks. These are used to add the box frame to the ceiling opening and can be removed later if required.
Step 4 - Installing the loft ladder
Next, lift the ladder through the opening and place the ladder assembly square in the space on the battens you added. Make sure the box frame is flush with the ceiling around the opening - a spirit level helps with this.
Now fix the box frame to the opening. Drill holes in the ends and sides of the frame with two holes on the short side and three on the longer. Countersink the holes and fix the box frame with the recommended screws.
Checking the ladder works
Once everything is sturdy and solid, you can check the ladder works. If you went for a wooden loft ladder and it is a little longer than needed, you can cut off the rungs until you get it to the right length.
You may need to add some panel pins around the outside edge of the box frame to finish the job, the instructions provided should tell you if this is needed.
Test the ladder and make sure that the hatch works and is secure when closed. You now have a working loft ladder and an easy way to get up into the loft at any moment - no extra ladders required!


