There are lots of clever techniques and products out there to help you get the finish you want in a room or the exterior of your home. A perfect example of these is brick slips. These are the perfect way to get something like a brick feature wall without having to construct an entire wall of bricks. But how do you fit them, inside and outside the home?
What is a brick slip?
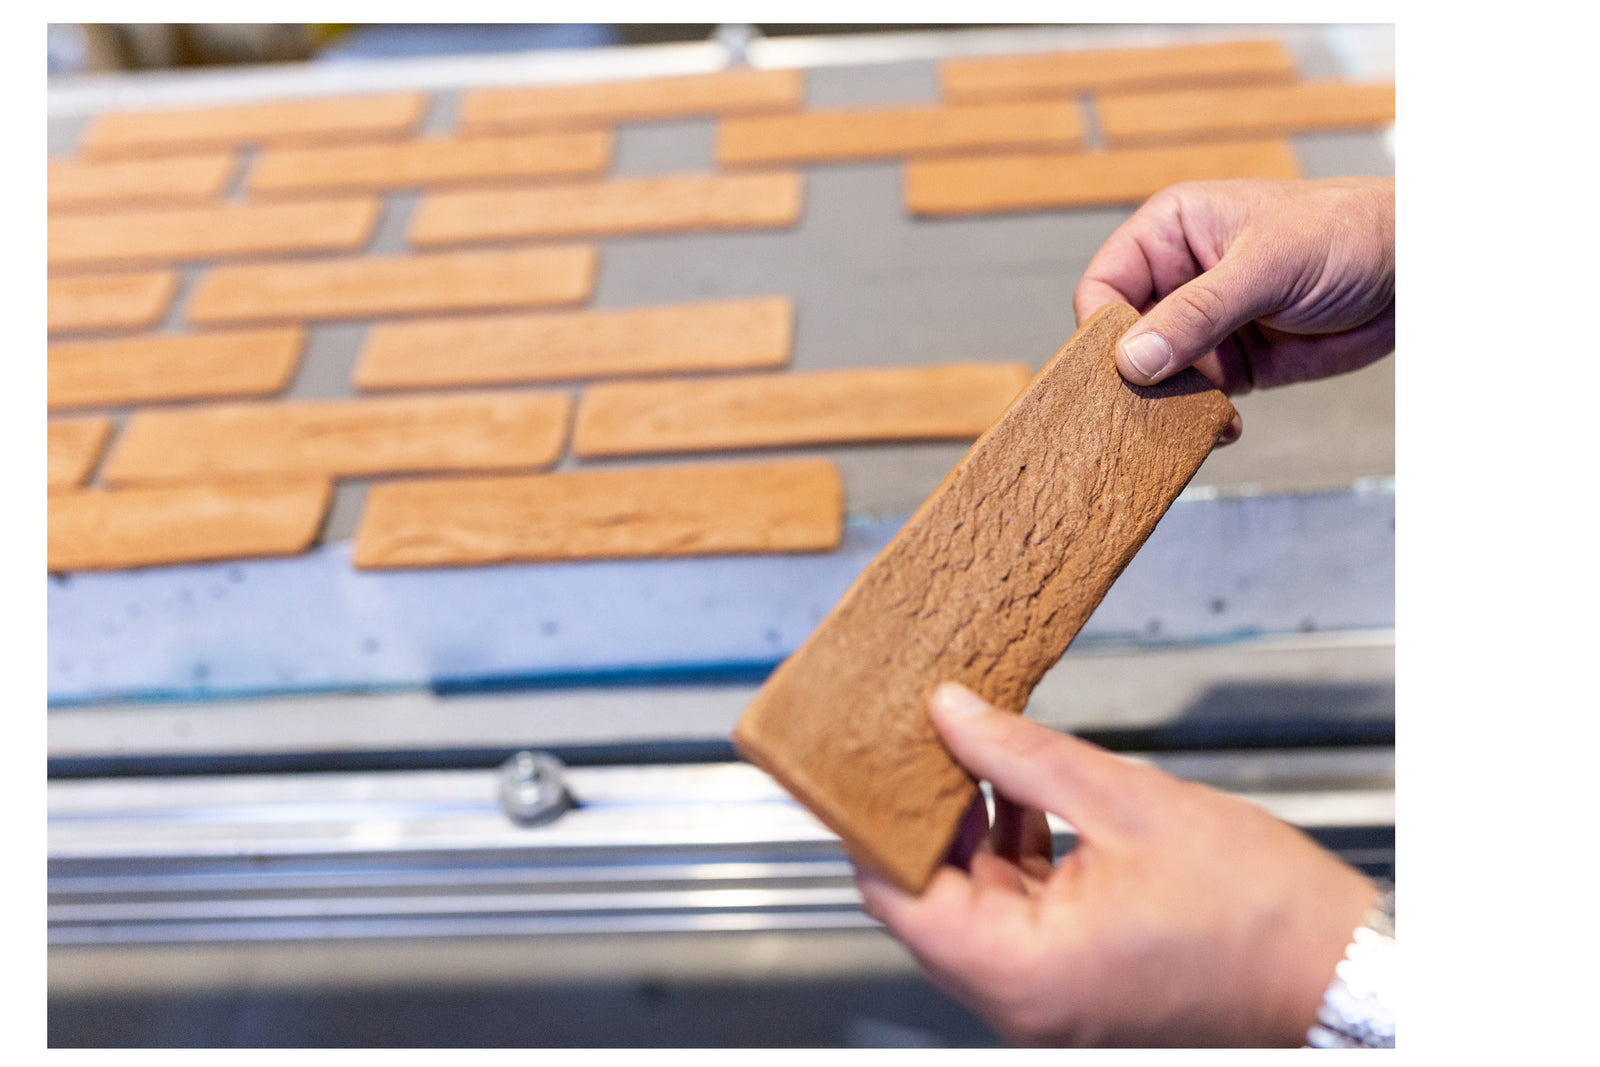
A brick slip, sometimes known as brick slip tiles, is a thin slice of brick that can be used to create a certain look without the need for full bricks and major construction. You will often see a brick slip fireplace without realising that there’s no brick walls involved, simply these clever slips over the top.
There are a couple of ways that bricks slips are created. Some are made in the same way as full bricks then a section is cut and fired to create the slip. These are known as preformed or manufactured. The other way is to cut sections from an already made brick to get varying thicknesses and sizes.
Installing interior brick slips
Interior brick cladding using brick slips is one of the most popular ways to get that real brick look without restructuring the whole house. As long as the wall you are adding the slips to is structural sound, there’s no reason you can’t create this look.
Adhesive options
To start with, you need the right adhesive. Mortar might be traditional for bricks but don’t use it for brick slips. Epoxy is also often used to stick things to a surface but isn’t a good option for brick slips.
Instead, the best adhesive to use is a cement-based adhesive. These set quickly and offer a reliable performance versus other options. In other words, the brick slips stay put for the longest time!
Fitting the brick slips
You will also need:
- Brick slips to cover the area (add about 15% to make sure you have extras)
- Adhesive as mentioned above
- Pointing mortar to fill between the slips
- Spacers to get an even gap
- Pointing trowel to apply the mortar
- Spirit level
Step 1: Measure the wall and mark a vertical line down the very centre. Do the same by measuring floor to ceiling (or the space to be covered) and mark the mid-point in the line you created. This is your centre point.
Step 2: Put your first brick slip with adhesive on the back and place it on the left-hand side of the vertical line you drew. Add the second slip next to it, using a spacer to get the right gap. Continue in a line until the area is covered or there’s not enough room for another slip.
Step 3: You’ll likely end up with a gap at the end of the row that is smaller than a single slip. Measure the gap. Take the full slip and mark the gap less than 1cm to allow for the spacer. Cut the brick slip to this size and add it to the wall.
Step 4: Now you are ready to add more rows. How you work depends on the pattern you want to create, whether just a straight line or if you want something more elaborate. Continue until the whole area is covered.
Step 5: Once the brick slip adhesive is dry, you can apply the mortar into the gaps. Use a mortar trowel or a gun to add the mortar between the slips then use the trowel to remove any excess. Brush gently with a wire brush to remove any lingering excess and leave to dry.
Installing exterior brick slips
Installing bricks slips outside is very similar in process to what’s outlined above in most cases. The main difference is if you are creating exterior brick slip panels on a pre-made panel area.
With this kind of installation, you will likely want to create an off-set pattern similar to what is seen in normal brick walls. To do this, create a vertical row to start with where one row touches nearly to the edge of the space and the other starts halfway along.
Then you can start to add the slips along the panel using spacers to get an even gap. The panel will help you to keep straight and ensure that you follow the pattern. Once you have added all the brick slips, leave them to dry.
Once they are dry, add the mortar to the gaps. Just like with brick walls, this should be a suitable mortar for outdoor conditions and is added with a tool or a gun. Wipe away any excess mortar before it dries.
Extra brick slip fitting tips
There are a final few tips to remember when you are adding bricks slips to any area. These include:
- Make sure that the substrate or panel beneath the skips is clean, dry and free of dust as well as being strong enough to hold the extra weight
- The adhesive doesn’t set instantly so you may need to leave short periods between rows to avoid nudging previous rows out of place
- Always follow the manufacturer’s guidelines for things like adhesive, spacers and mortar to get the best results
A stylish and effective look
Brick slips create a stylish and effective look on a wall inside or outside the home. From a brick fireplace to a brick look finish to the wall of a uPVC clad area, these have the classic look of bricks without the extra work needed to create an entire wall.


